E-Ink Picture Frame
2026A standalone digital picture frame built around a Raspberry Pi Zero and a 7-color e-paper display, with a custom Python image pipeline and a fully 3D-printed enclosure.
- Hardware
- 3D Printing
- Raspberry Pi
- Python
- Image Processing
- E-Ink
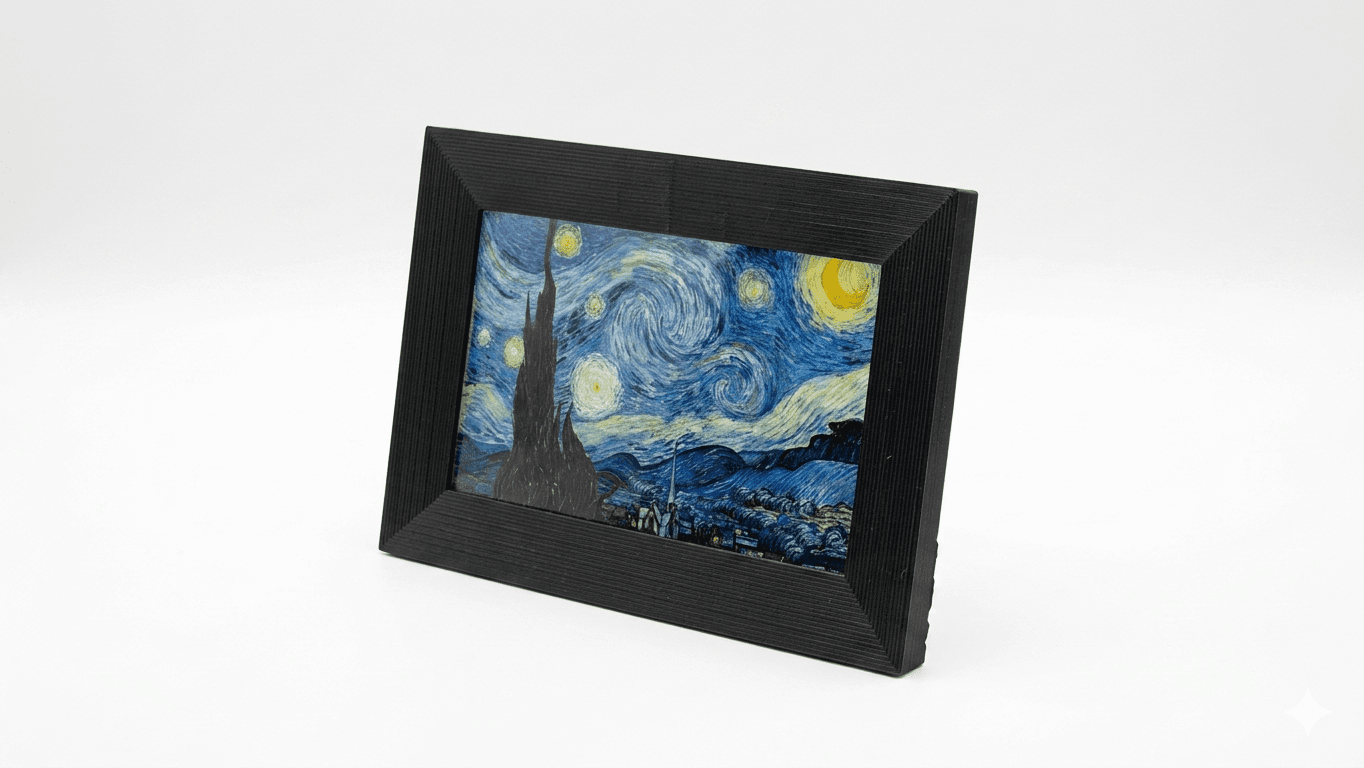
A desktop picture frame built around a Raspberry Pi Zero and a Waveshare 7.3" ACeP 7-color e-paper display. The system handles its own image ingestion, dithering, and hardware communication, and is enclosed in a custom 3D-printed frame, designed to assemble with two screws. Built as a birthday gift for my dad.
Hardware
- Display: Waveshare 7.3" ACeP 7-color e-paper panel, 800×480, driven over SPI. The ACeP (Advanced Color ePaper) panel uses seven physical pigments (black, white, red, yellow, green, blue, and orange) rather than emitting light, so it reads more like a printed photograph than a screen.
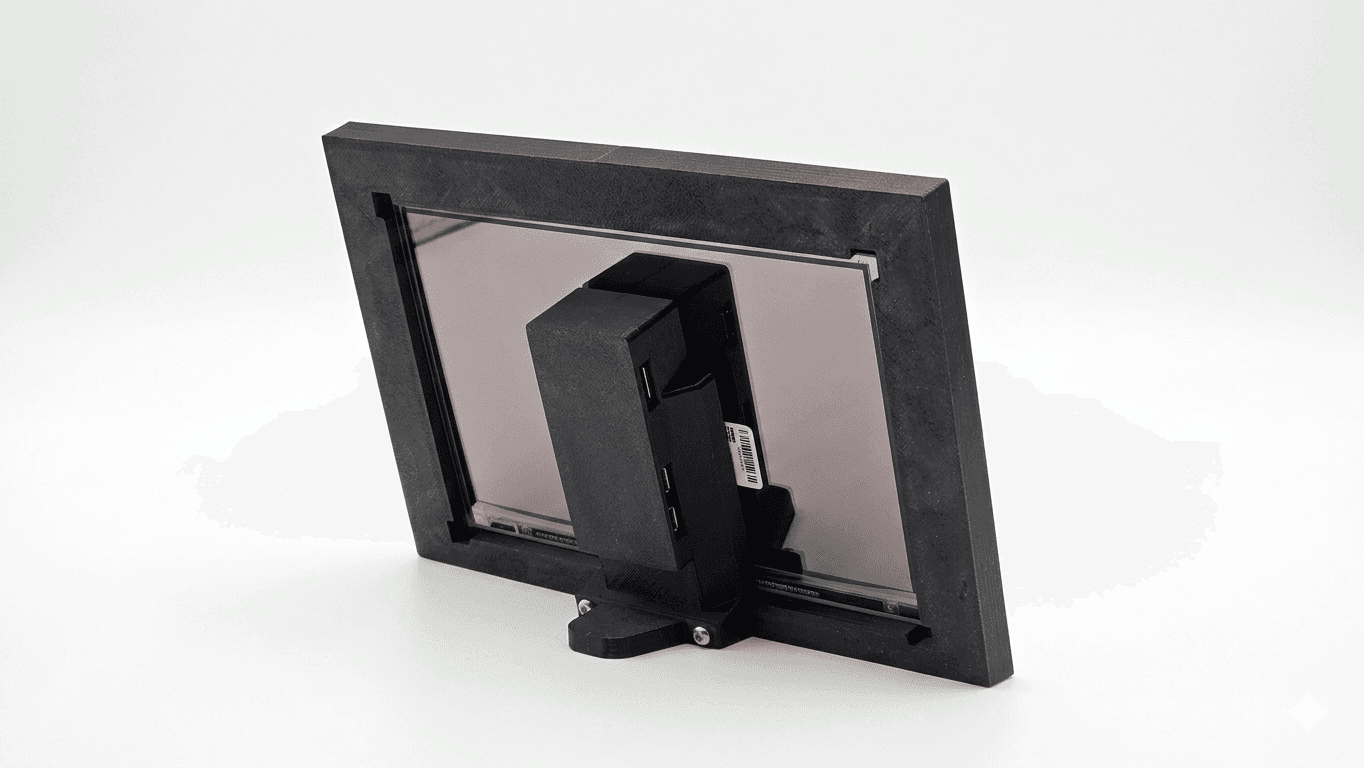
- Compute: Raspberry Pi Zero running Raspberry Pi OS.
- Power: 5V wall adapter. Because e-paper is bistable (the pigments hold their position without any current), the system idles between refreshes and the display itself draws zero power once an image is latched.

Software architecture
The Pi runs a small Python application split into four modules with clear responsibilities:
frame_manager.py: orchestration
The application entrypoint. Takes the SD card path and refresh interval as arguments, sets up a working directory, runs the conversion pipeline, and hands off to the display loop. Each stage's errors are caught independently, so a failed conversion doesn't take the display offline.
sd_monitor.py: image discovery
A long-running watcher that polls /media/ for a mounted USB SD card, recursively scans for valid JPEG, PNG, and BMP headers, and builds a shuffled queue of file paths. It also reads an optional refresh_time.txt from the card to override the default 600-second refresh interval, a small touch that lets the end user reconfigure the frame without touching the Pi.
image_converter.py: the dithering pipeline
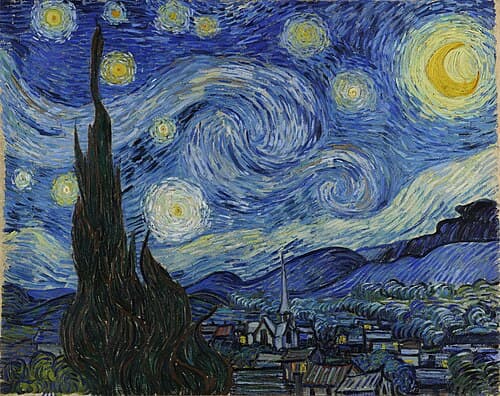
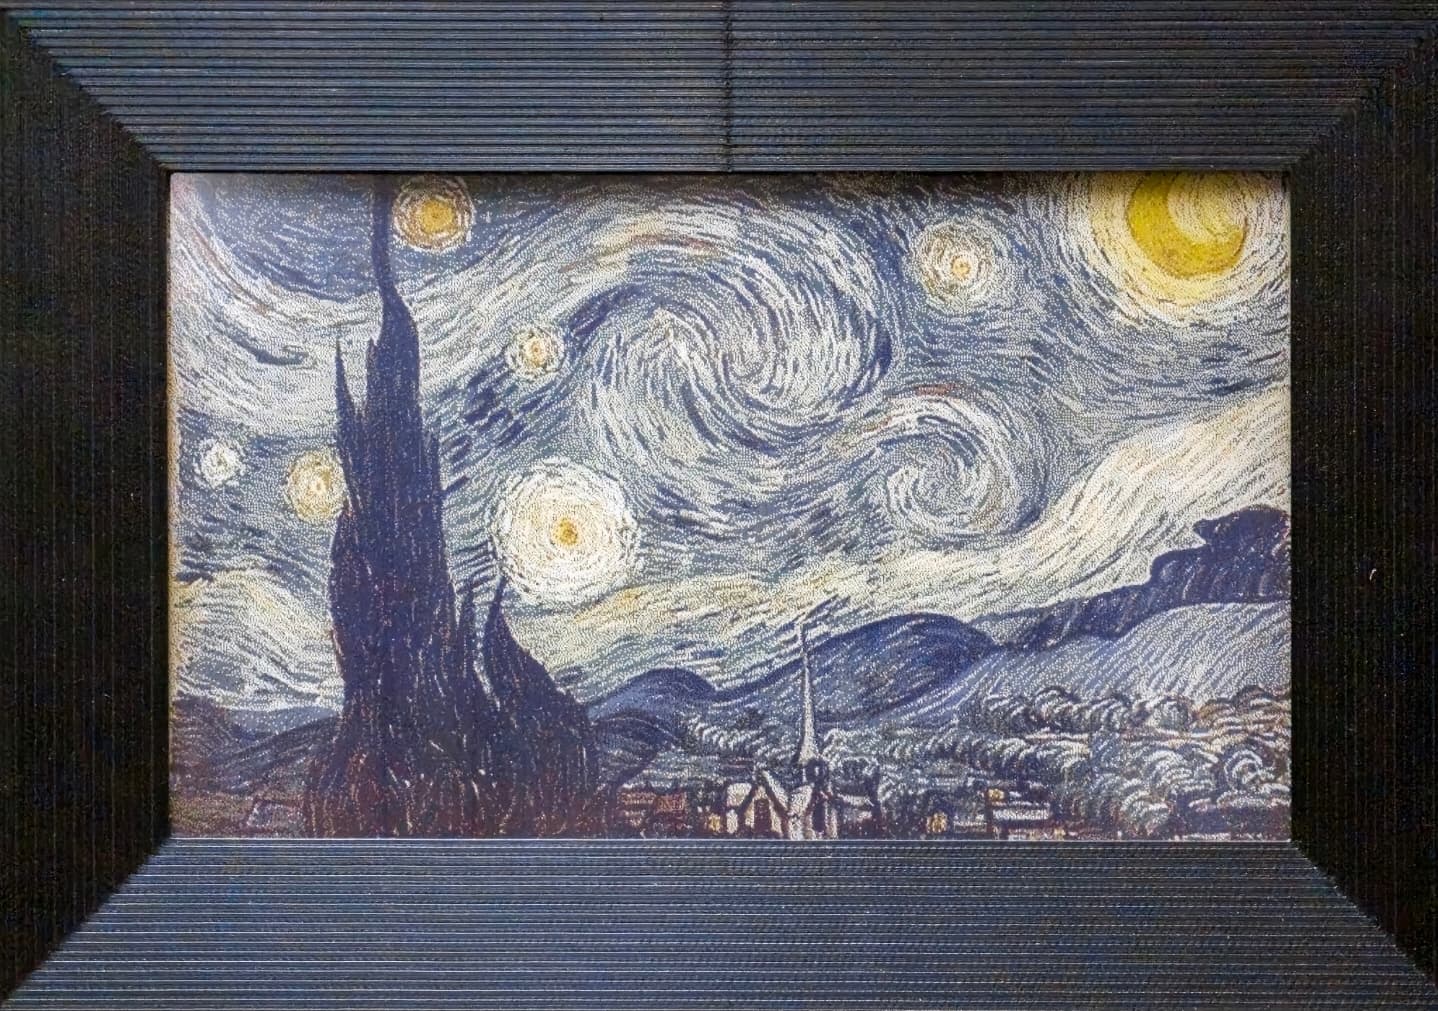
This is where most of the interesting work happens. A typical photo carries millions of unique colors; the panel can physically reproduce exactly seven. Bridging that gap is what makes the output look like a photograph.
Each image is loaded with Pillow, rotated and resized/cropped to fit 800×480, then passed through Floyd-Steinberg error diffusion against the 7-color palette. For every pixel, the algorithm picks the nearest available pigment, computes the residual color error, and propagates that error to the surrounding pixels with fixed weights. The result is a fine pointillist texture that the eye reconstructs into smooth gradients at normal viewing distance, the same trick newspaper halftone printing has relied on for a century, compressed into a tighter palette.
The effect is most obvious when you follow a single image through the pipeline:
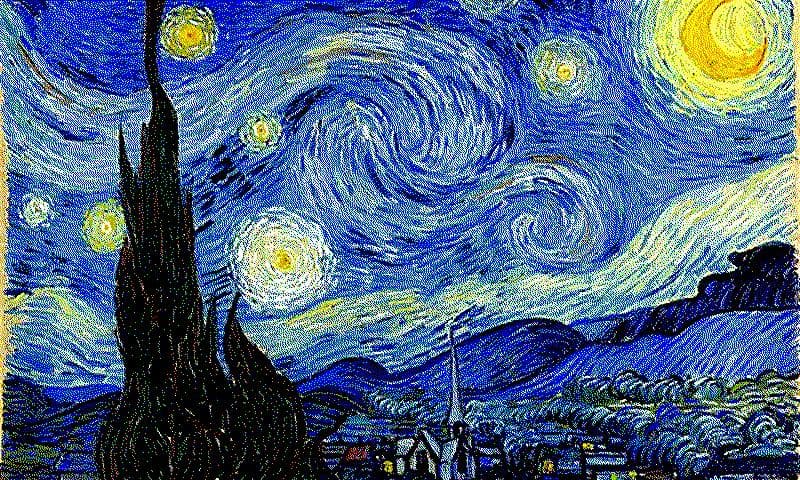
Up close the texture reads as scattered colored dots; at viewing distance the eye blends them back into something that looks like a smooth gradient.
display_manager.py: hardware communication
Once dithered, each pixel is expressed as a 4-bit nibble identifying its target pigment, so the full frame packs into a 192,000-byte buffer (800 × 480 × 4 bits). The driver wakes the panel, streams the buffer into its internal SRAM over SPI, and triggers the VCOM refresh, the high-voltage waveform that pulls the colored microcapsules to the display surface. After the image latches, the controller is sent into deep sleep. From that point the Pi could be unplugged entirely and the image would persist on screen indefinitely.
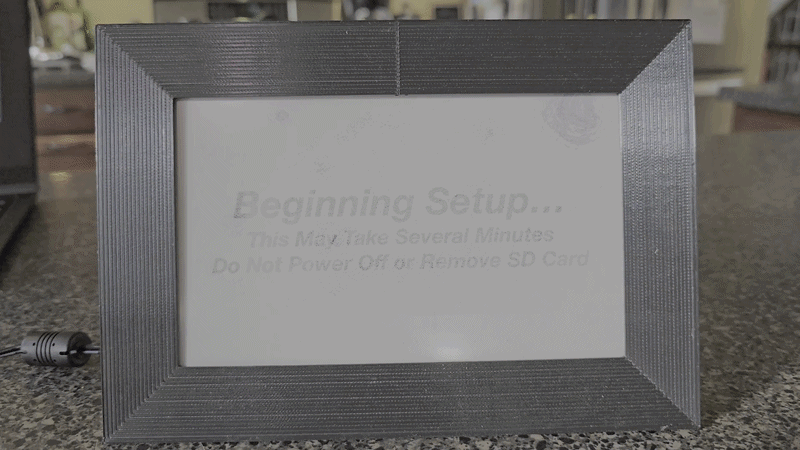
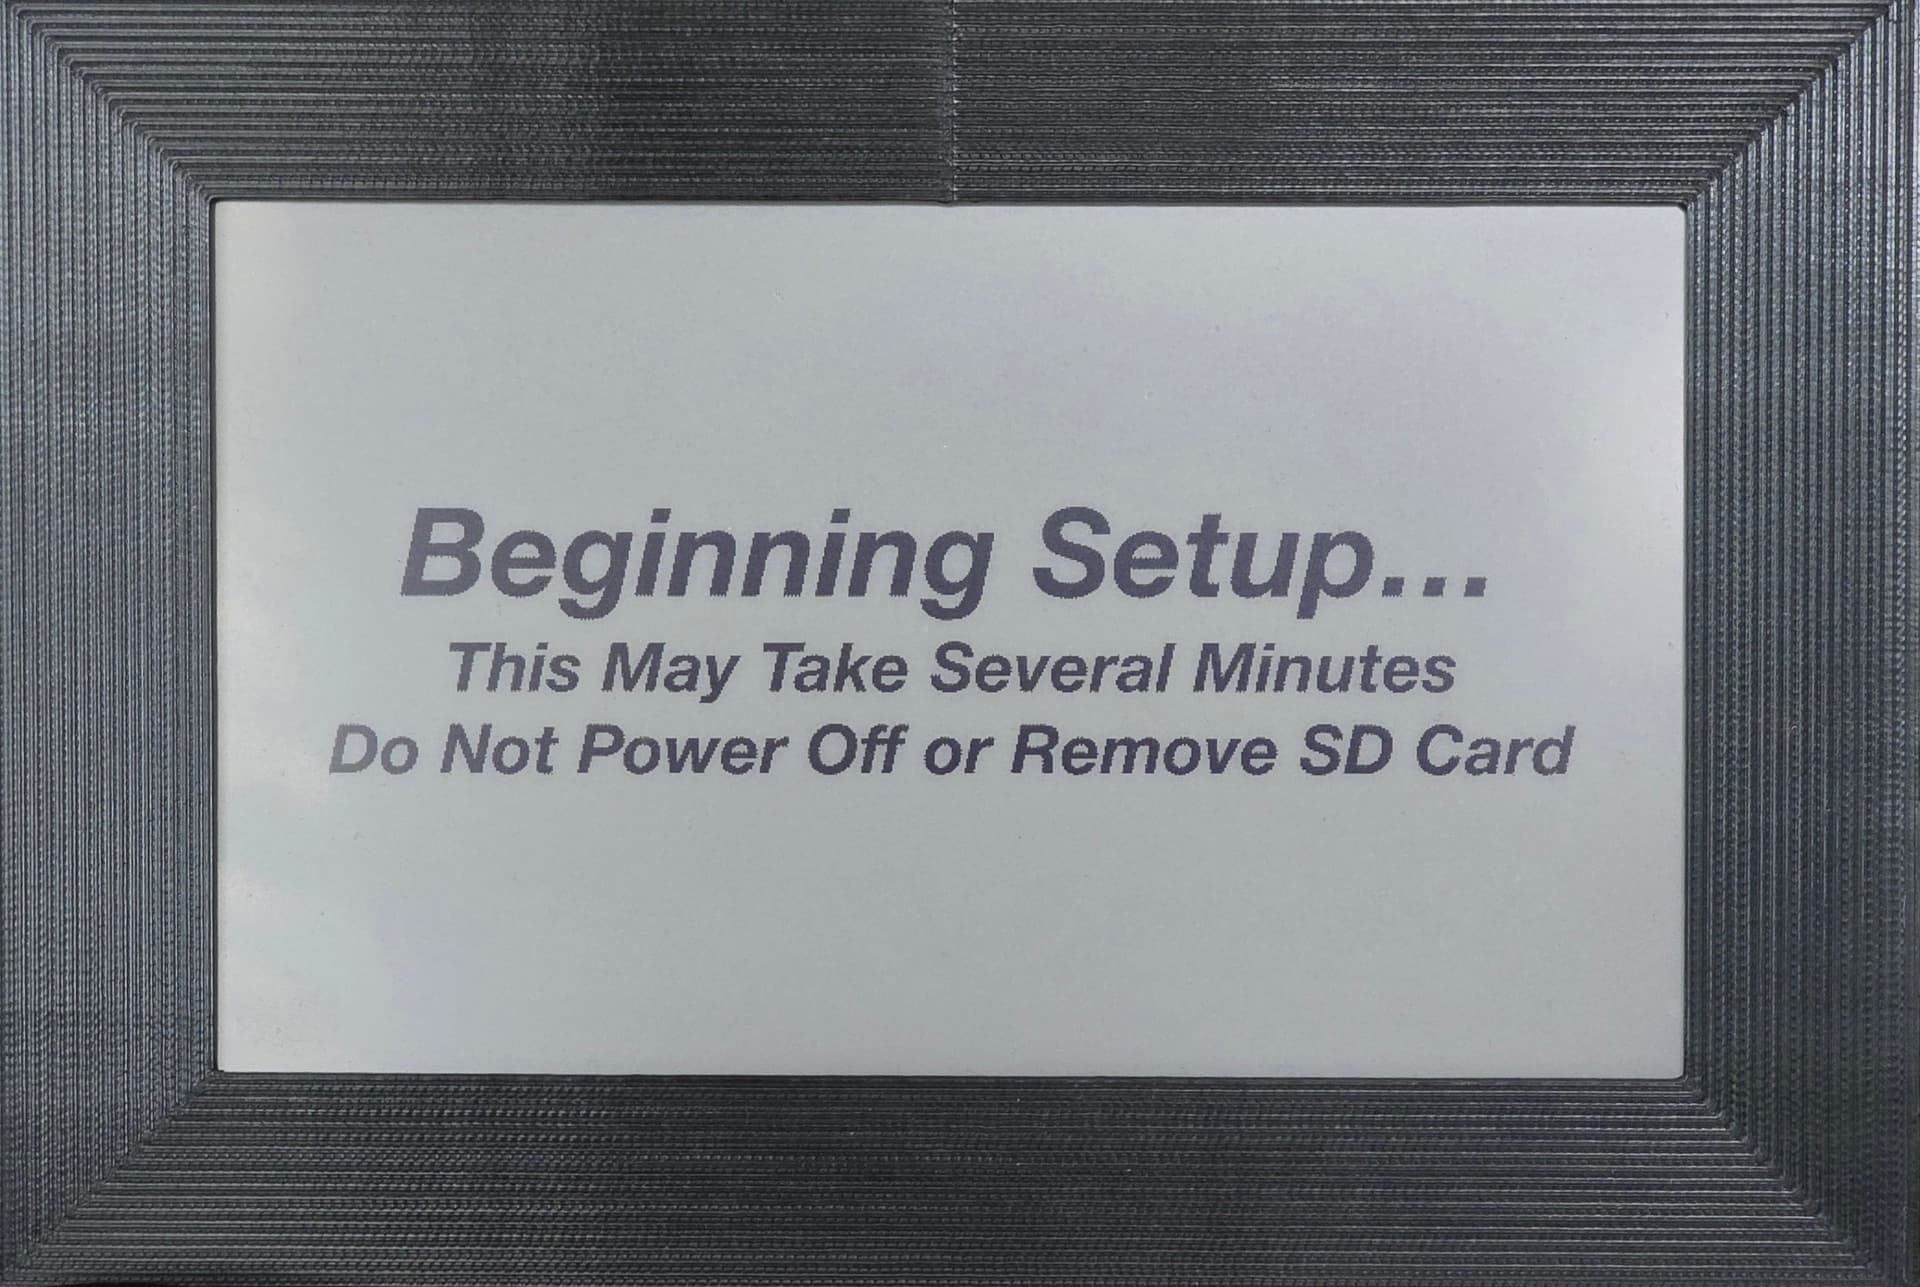
The frame has no LCD, buttons, or other UI, it's headless apart from the e-paper itself. To communicate state (startup, errors, an empty SD card), the display falls back to a small library of pre-dithered status images stored alongside the code, so the panel becomes its own status indicator.
Mechanical design
Three printed parts in PLA on an Ender-3: a front frame, a rear electronics enclosure, and a stand.
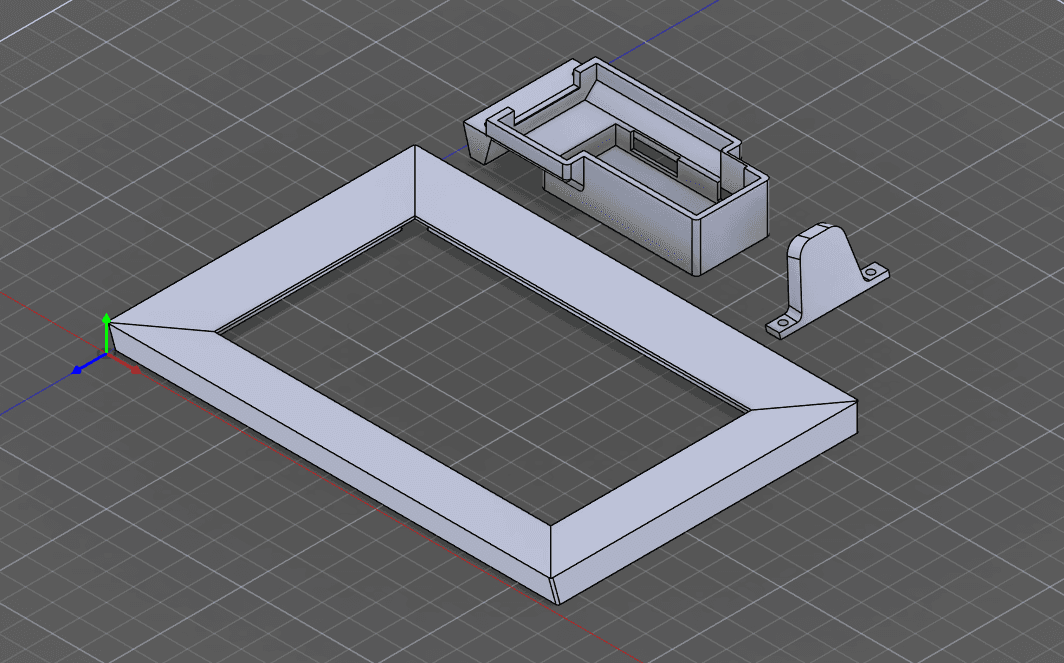
They assemble as a single unit: the frame has a recessed slot for a washer, and two screws pass through the stand and the enclosure to seat against it, clamping the whole assembly together.
The interesting work was in the iteration loop. Tolerances for press-fits, screw bosses, and the display bezel rarely come out right on the first print, so each part went through several measure-print-fit-revise cycles before the fit was clean. CAD was done in Fusion 360.
What I'd change
The remaining rough edge is image loading. The SD-card workflow is reliable but high-friction: physically unmounting the card to add a few photos means it happens far less often than it should. The natural next iteration is a small web service running on the Pi (or a watched cloud folder) so new images can be pushed wirelessly and picked up by sd_monitor on its next scan.
